

How a wooden badminton court is builtOne programme,
one site team.
Flooring, lighting, poles and nets from one contractor — so there is one sequence, one crew, and one person answerable for the result. 11 steps, in the order they happen on site.
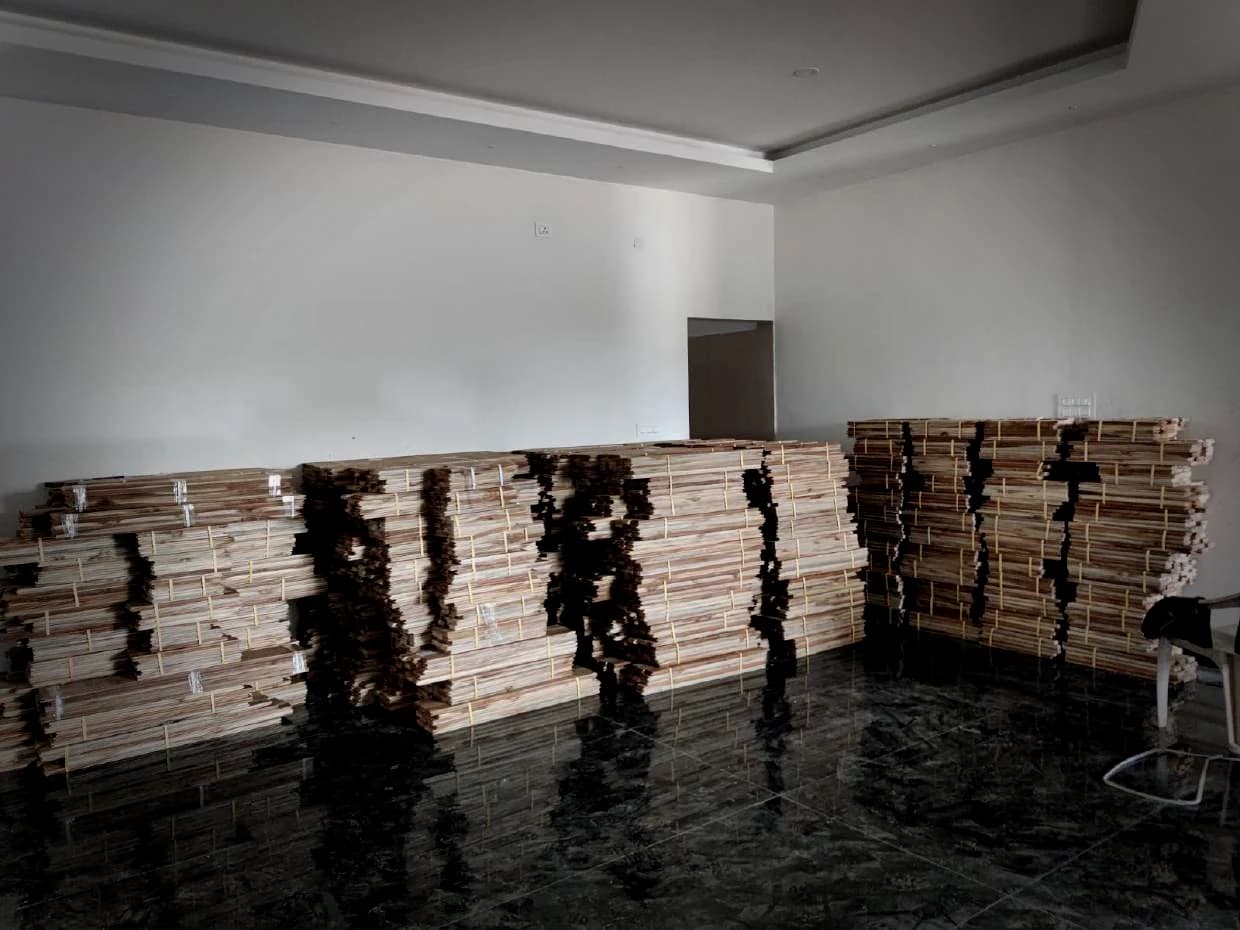
01
Set out
Where the court sits in the hall, and whether the run-off around it works before anything is fixed to the floor.
- 01
Survey & set-out
Site measured, levels taken, court positions set out to international dimensions.
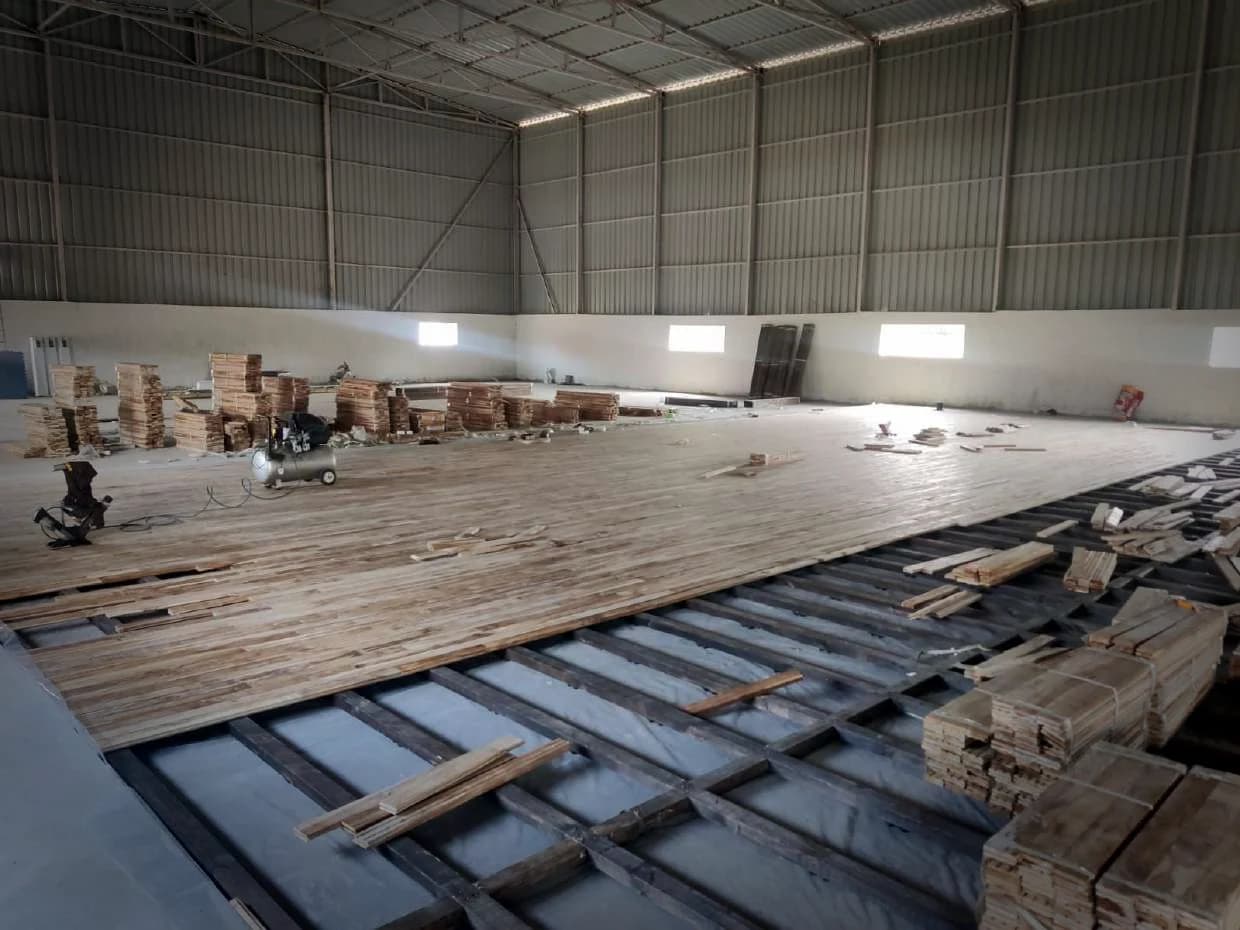
02
The base
What the framework stands on: a sealed substrate, a moisture-resistant membrane, and the pads that take the impact.
- 02
Base preparation
Concrete substrate prepared and sealed with a 3–5 mm moisture-resistant membrane.
- 03
Shock pads
20–21 mm button-type pads set out across the base for vibration absorption.
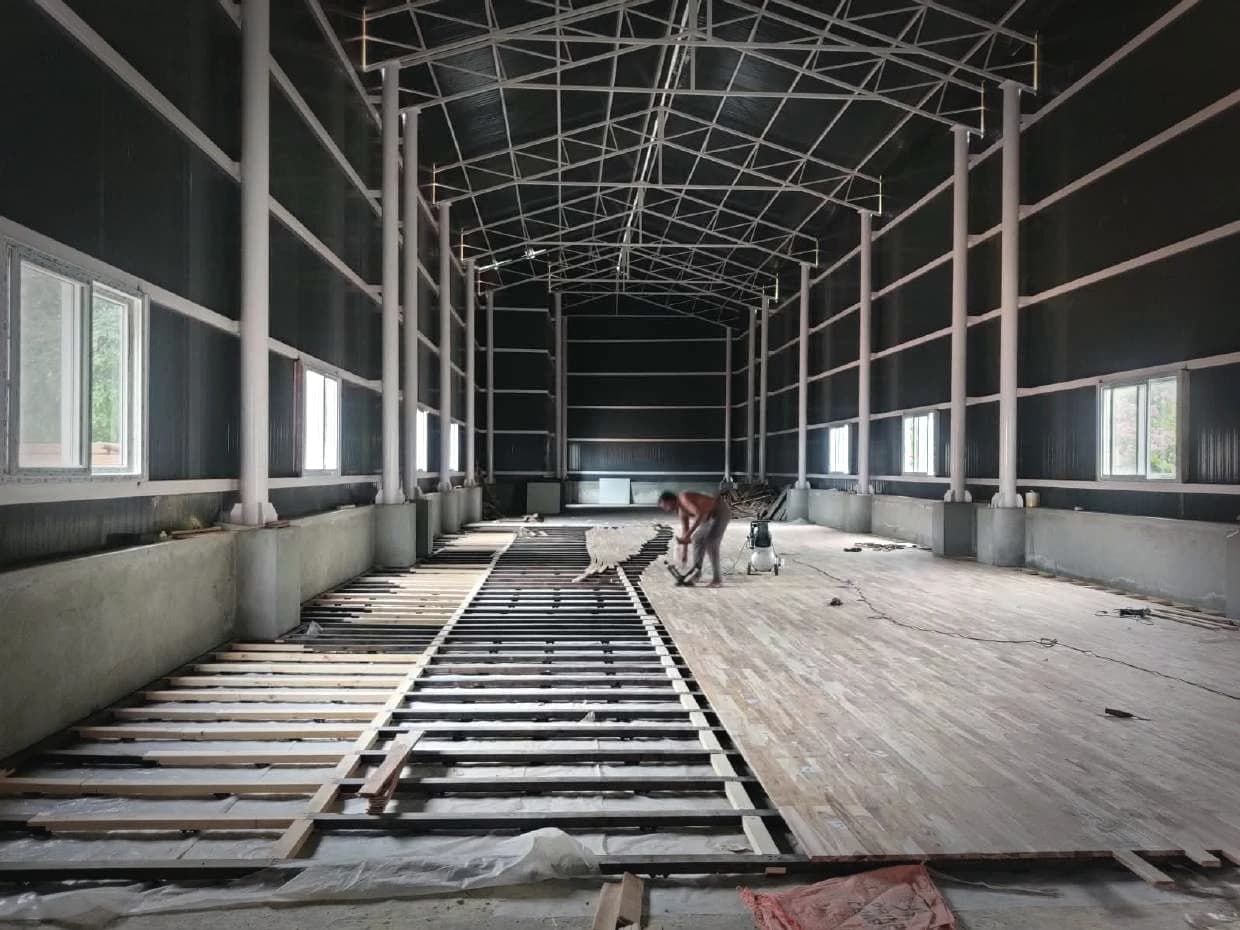
03
The framework
Whether what goes down is one continuous timber framework or a set of individual supports. Both directions, interlocked at every crossing.
- 04
First pine direction
Chemically treated pine members laid across the base in the first direction.
- 05
Second pine direction & interlocking
Perpendicular members brought in and interlocked at every intersection, forming one continuous framework.
- 06
Pneumatic nailing
The entire wood-flooring work processing is carried out using pneumatic nailing machines only.
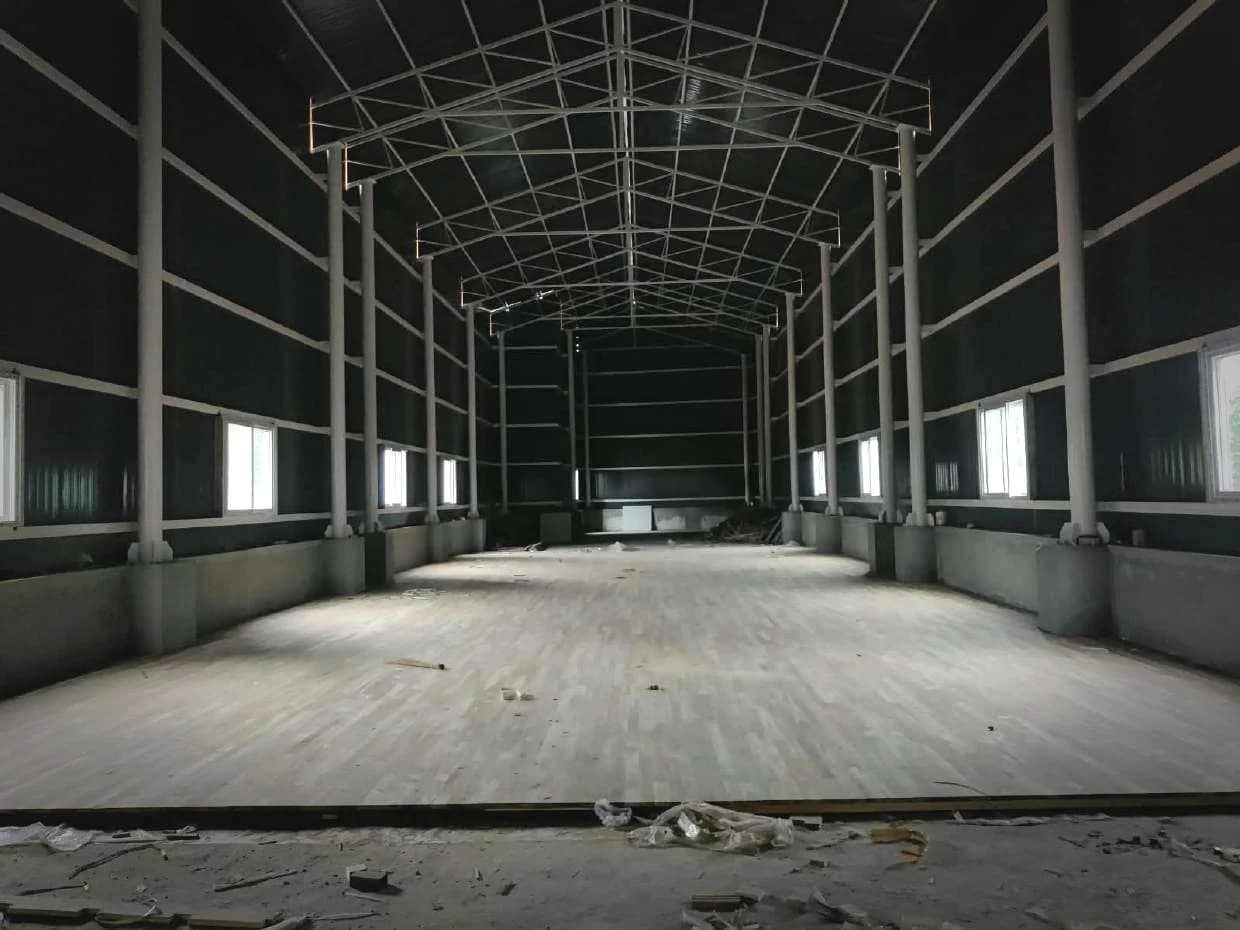
04
The floor
The plane. Boards go straight onto the framework and are blind-nailed through the tongue; the sanding after them is what makes the surface true.
- 07
Flooring
20–21 mm African teak, or maple for squash, laid tongue-and-groove and blind-nailed through the tongue directly onto the framework.
- 08
Industrial sanding & finish
Industrial sanding and finish, then sealed with a water-based PU court finish.
05
Handover
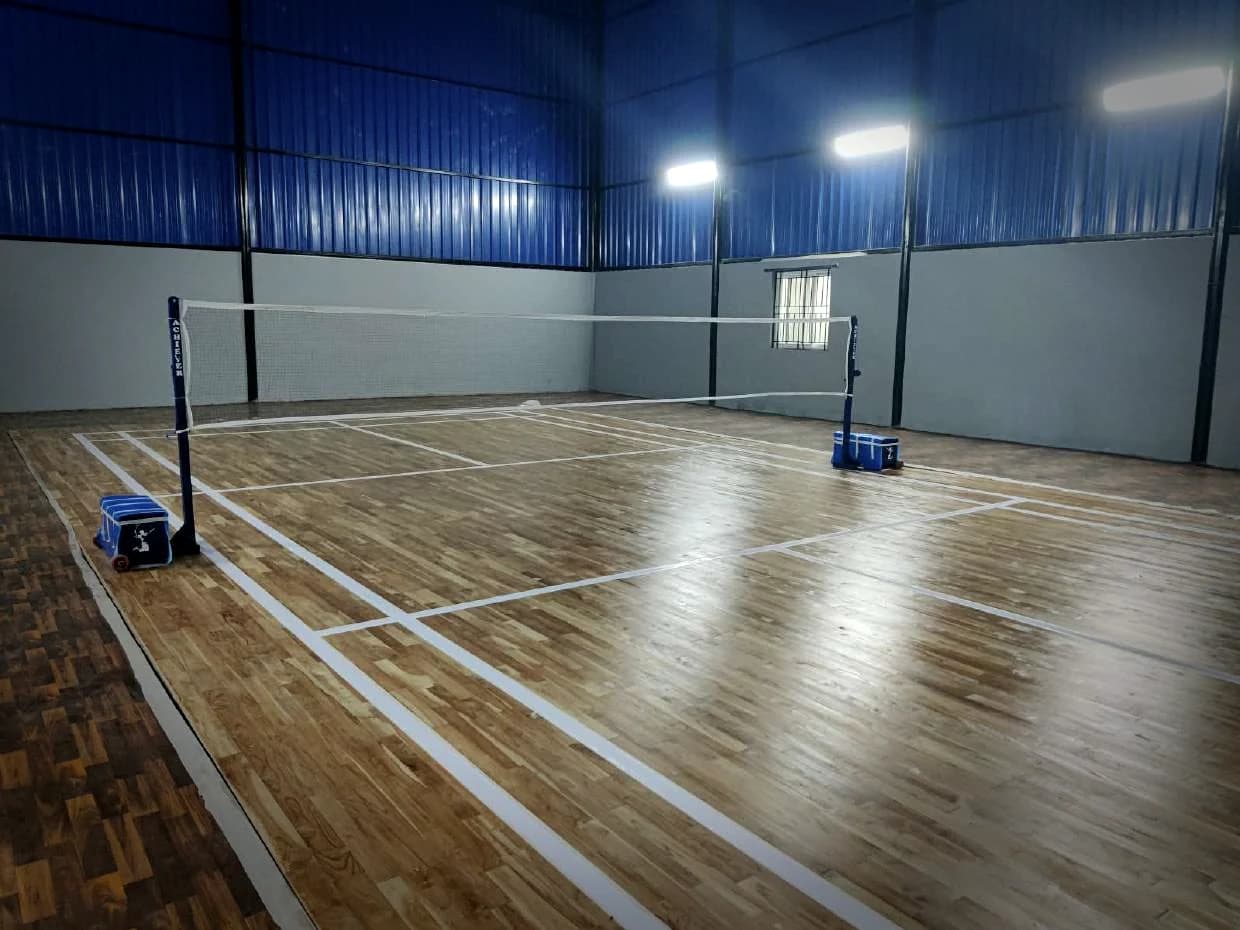
What gets played on and what gets billed: markings to international dimensions, freestanding poles and nets, lighting, and a final measurement of the court as built.
- 09
Markings, poles & nets
Court lines set out to international dimensions; professional poles and nets installed.
- 10
Lighting
150W fixtures and supports installed and positioned for glare-free play.
- 11
Measurement & handover
Final measurements taken post-completion; billing based on actual site dimensions.
After handover
Billed on the court that got built.
Final measurements are taken after completion and billing follows the actual site dimensions — not the ones on the drawing. The same sequence has run 99 courts across 31 sites.